
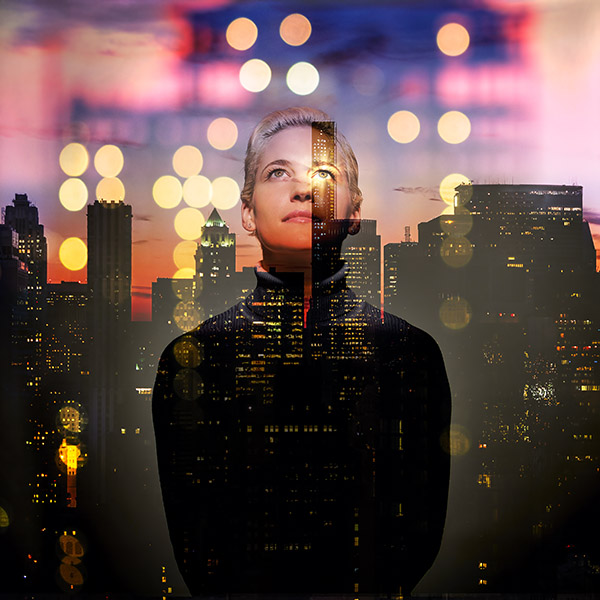
To blend the images I experiment with the various layer modes available in Photoshop, generally using Overlay, Hard or Soft Light, or Screen to merge the images. Sometimes the merger is as simple as turning down the opacity of the layer to allow the layers beneath to show through. To fine tune the blending I add a layer mask and paint areas in or out.
When working on these composite images I like to start with 16-bit RAW files converted to TIFs. This preserves the greatest color and detail and helps keep artifacting to a minimum as the image is manipulated.

wonderful photography of woman, good one
ReplyDelete